Tuesday, April 15, 2014

Ala Bargainista Fashionista: A Monokini Desire (Test Run)

There is a contest over at sewingpatternreview called Bargainista Fashionista and I'm in it.
I found this amazing monokini from Michael Kors with a retail price of $200.00. Take a look at my inspiration for my project:      


In order to achieve this look, I purchased Kwik Sew 3608 as pictured here:

K3608

I am a bit intimidated by the idea of flaunting so much skin. However, after I made my own modifications to Kwik Sew 3608, I felt comfortable, confident and sassy. I have never owned this particular type of bathing suit, but it deceivingly worked for my curves.


This is my work in progress (WIP). There were several changes that I had to execute to achieve my monokini desire. First, I traced the pattern on tracing paper. Then, I redrafted a more modest side opening to mirror the Michael Kors Monokini. Also, I dropped the leg opening by grading to the next size. Additionally, I increased the side seams on the back. 
This is my wearable muslin. Right now, it has no elastic, nor lining. Still to come...trying to figure out how to recreate the same top back piece as my inspiration piece.  

Night. Night.

Sunday, April 13, 2014

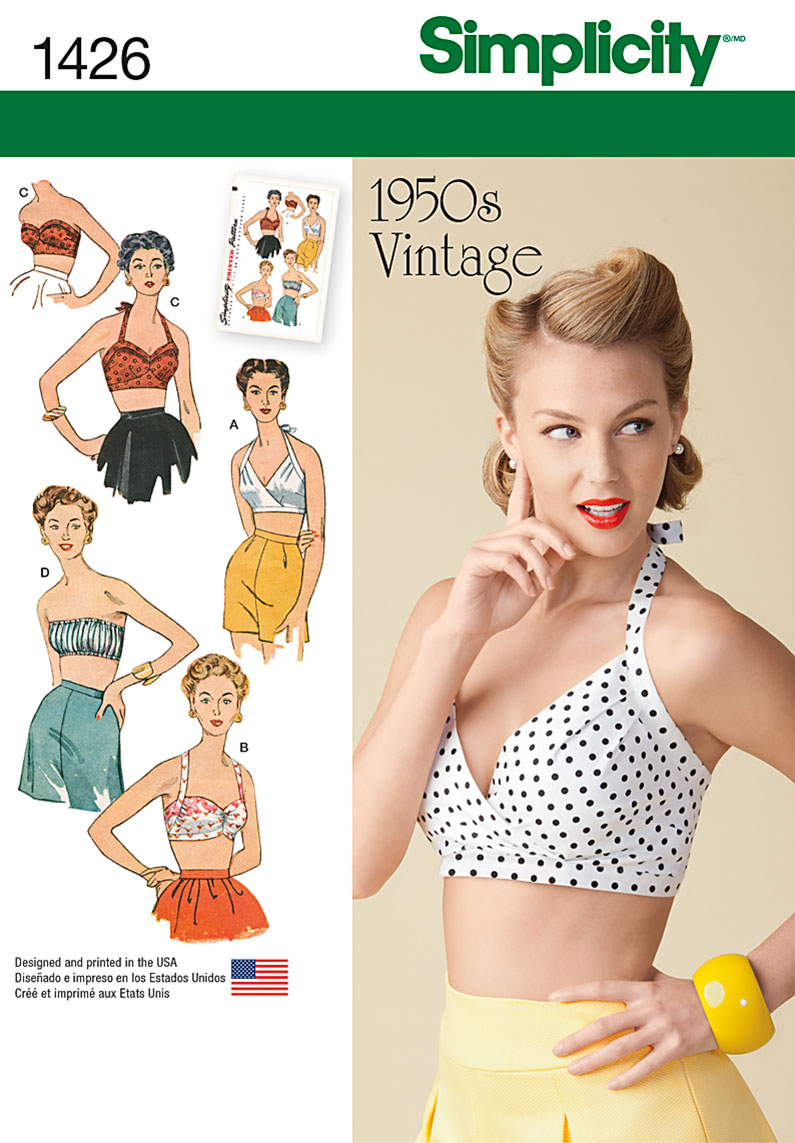
Simplicity: A Vintage Bra from the 50's


Every time my local, big chain fabric store had a sale on Simplicity patterns, I would check for their new vintage pattern from the 1950's, but I could never find it in my size. So for the first time, in a long time, I bought the pattern at full price: $10.75 with a coupon from retailmenot.com.
 

I traced the pattern on tracing paper and added an extra 3/8" to give me a total one inch seam allowance.


I did my best to  follow every step to the tee. On steps 1 through 4, I felt like I was on a roll. However, step 5 (smh) slowed my sewing flow. It reads, "Understitch  by pressing seam toward lining and stitching through seam allowances close to seam."  I had to do a quick youtube search on understitching, Once I figured out the correct seams to understitch, things were running smooth. I had to spend some time with my seam ripper because I made a blooper. I understitched correctly, but on the wrong seams...lol. My seam ripper rocks!!

The flowers on my fabric are very busy, so I used a solid color to balance everything out. I am glee happy to have almost finished this bra top. Here it is:


I just need to complete step 16, which means I have to add the buttons. Right now, a safety pin is completing the ensemble. See it:


This was my practice run for this pattern. I made some mistakes and learned from them. I plan on making version B and C on a later date. I am loving this vintage bra top.

Hasta Luego!!